
To master sewing basics, you should learn about essential tools like quality needles, pins, scissors, and fabric markers, which make your work easier. Understand different fabric types and their care needs to choose suitable materials for your projects. Practice basic stitches such as running and backstitch, and learn how to operate your sewing machine smoothly. Knowing how to read patterns, prepare fabric properly, and finish seams will boost your confidence—exploring these areas will help you sew with ease.
Key Takeaways
- Master basic hand stitches like running, backstitch, and slip stitch for versatile garment repairs and finishing touches.
- Understand fabric types and properties to select suitable materials and ensure proper sewing techniques.
- Learn how to properly set up and operate a sewing machine, including threading, tension adjustment, and maintenance.
- Read and interpret sewing patterns accurately, paying attention to symbols, grainlines, and sizing for a perfect fit.
- Prepare fabric by washing, pressing, and aligning grainlines to ensure smooth sewing and durable finished projects.
Essential Sewing Tools and Materials

When starting your sewing journey, having the right tools and materials makes all the difference. Begin with quality needles, which are essential for smooth stitching; threading needles correctly can save you time and frustration. Practice threading needles to develop a quick, reliable technique. Selecting pins is equally important; choose pins that are sharp and sturdy to hold fabric securely without slipping. Keep a pincushion nearby for easy access and organization. A good pair of scissors, measuring tape, and fabric markers round out your basic toolkit. These tools help ensure precision and efficiency. Investing in reliable tools from the start makes sewing more enjoyable and improves your results. Additionally, choosing the right small wood stoves can create a cozy workspace environment to enhance your sewing experience. With the right needles, pins, and other essentials, you’re well on your way to creating beautiful projects.
Understanding Fabric Types and Selection

Choosing the right fabric starts with understanding its properties and how to care for it properly. You’ll want to contemplate fabric care tips to keep your projects looking great, while selecting materials suited to your specific needs. Knowing these basics helps you make confident decisions and achieve professional-looking results.
Fabric Care Tips
Understanding fabric types and selection is essential for caring for your sewing projects properly. Knowing how different fabrics respond to fabric washing and stain removal helps prevent damage and keeps your creations looking their best. For delicate fabrics like silk, hand washing is best, while sturdier materials like denim can handle machine washing. Always check labels for specific care instructions. Here’s a quick guide:
| Fabric Type | Care Tips |
|---|---|
| Cotton | Machine wash, stain removal easy |
| Silk | Hand wash, gentle stain removal |
| Denim | Machine wash, tumble dry |
| Wool | Dry clean or gentle wash, stain removal |
| Polyester | Machine wash, stain removal simple |
Matching the right care method guarantees your fabric stays vibrant and intact longer. Proper fabric care also involves understanding fabric care labels, which provide crucial instructions tailored to each material. Additionally, recognizing the properties of different fabrics can help you choose the most suitable cleaning method for each type. Being aware of fabric durability can further assist in selecting appropriate washing techniques to extend the lifespan of your textiles. Knowing the history of fabric development can also offer insights into the best maintenance practices for vintage or heirloom textiles.
Choosing the Right Material
Have you ever wondered how to pick the perfect fabric for your sewing project? Choosing the right material is key to ensuring your finished piece looks great and lasts. Consider fabric durability to match your project’s use—delicate fabrics are better for decorative items, while sturdy ones suit everyday wear. Colorfastness is also essential; you want fabrics that resist fading after washing. When selecting fabric, keep in mind:
- Fabric type (cotton, linen, polyester, etc.)
- Intended use and care requirements
- Colorfastness and dye quality
- How well the fabric holds up over time, especially when incorporating natural materials such as linen or cotton, which are popular in farmhouse decor. Research indicates that fabric durability plays a crucial role in the longevity of your sewing projects. Using eco-friendly materials can also help make your sewing projects more sustainable and environmentally conscious. Additionally, considering the air purifiers used in your environment can help maintain a clean workspace, especially when working with dust-generating fabrics.
Understanding Fabric Properties
Selecting the right fabric starts with knowing the different types and their specific properties. Fiber elasticity determines how well a fabric stretches and recovers, impacting comfort and fit. For example, spandex offers high elasticity, making it ideal for fitted clothing. Fabric breathability is equally important, especially for warm-weather garments; breathable fabrics like cotton allow air to circulate, keeping you cool. Understanding these properties helps you choose fabrics suited to your project’s purpose. Some fabrics are durable but less breathable, while others might have excellent elasticity but require delicate handling. Additionally, knowing how to care for different fabrics can extend their lifespan and maintain their appearance over time. Recognizing the fiber content can also help you determine the appropriate sewing techniques and finishing methods for each fabric. Being aware of how fabric weight influences drape and sturdiness can further refine your fabric selection process.
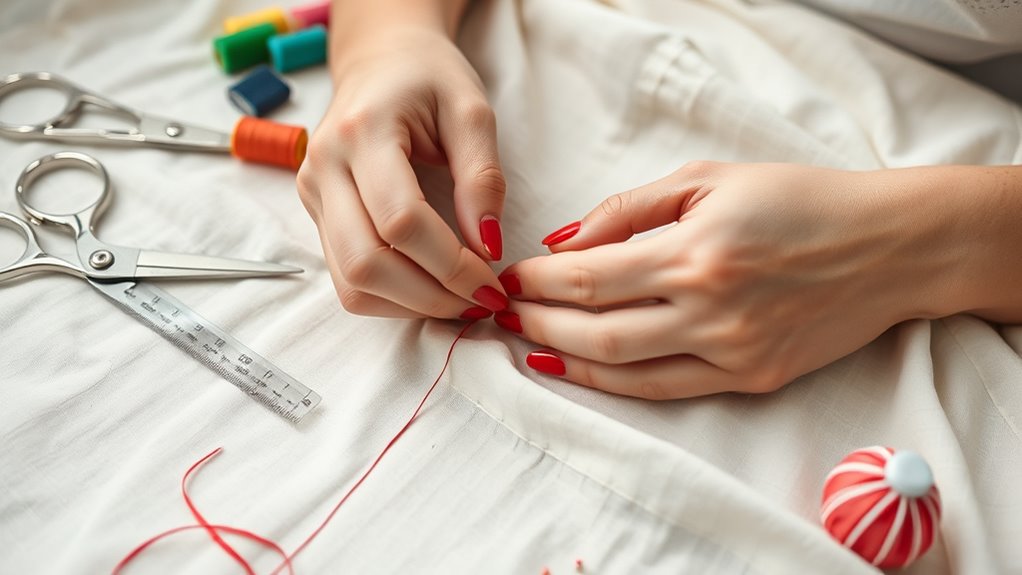
Basic Hand Sewing Stitches
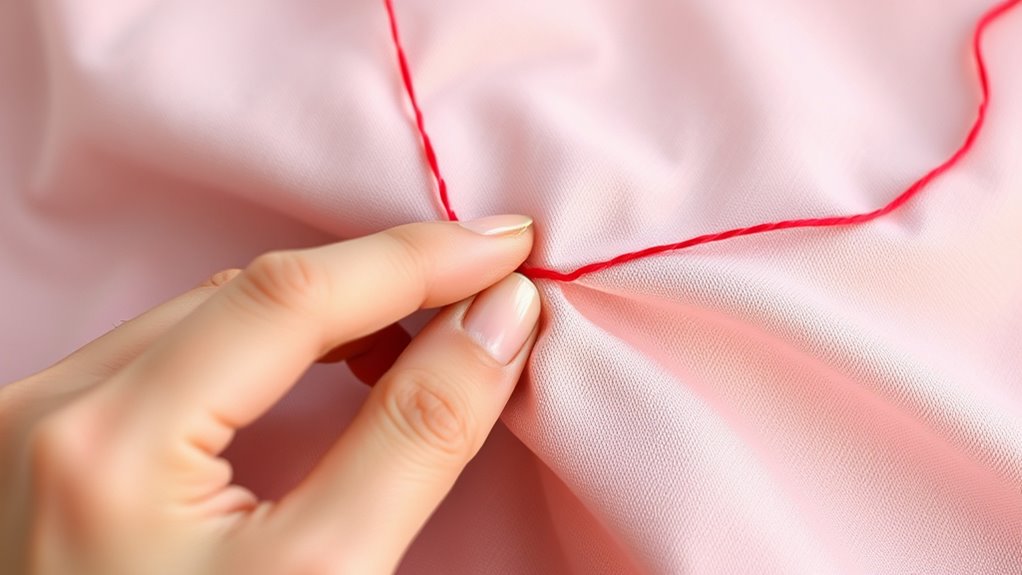
Mastering basic hand sewing stitches is essential for any sewing project, whether you’re mending a tear or creating a new garment. These stitches form the foundation of hand sewing techniques and help guarantee stitch consistency. The running stitch is simple and versatile, perfect for temporary seams and gathering fabric. The backstitch provides strong, durable seams ideal for finishing edges. The slip stitch is great for invisible repairs, blending seamlessly with fabric. The hem stitch secures hems neatly and securely. To improve your skills, focus on maintaining even stitch lengths and consistent tension. Practice these stitches regularly to build confidence and precision, making every project look polished and professional. Developing these basic hand sewing techniques allows you to handle various sewing tasks with ease. Attention to detail is crucial for achieving high-quality results in all sewing endeavors, especially when stitch consistency ensures durability and a professional appearance. Additionally, understanding sustainable practices can help reduce waste and make your sewing projects more environmentally friendly. Incorporating proper tools and materials can further enhance your sewing experience and outcomes.
Operating a Sewing Machine
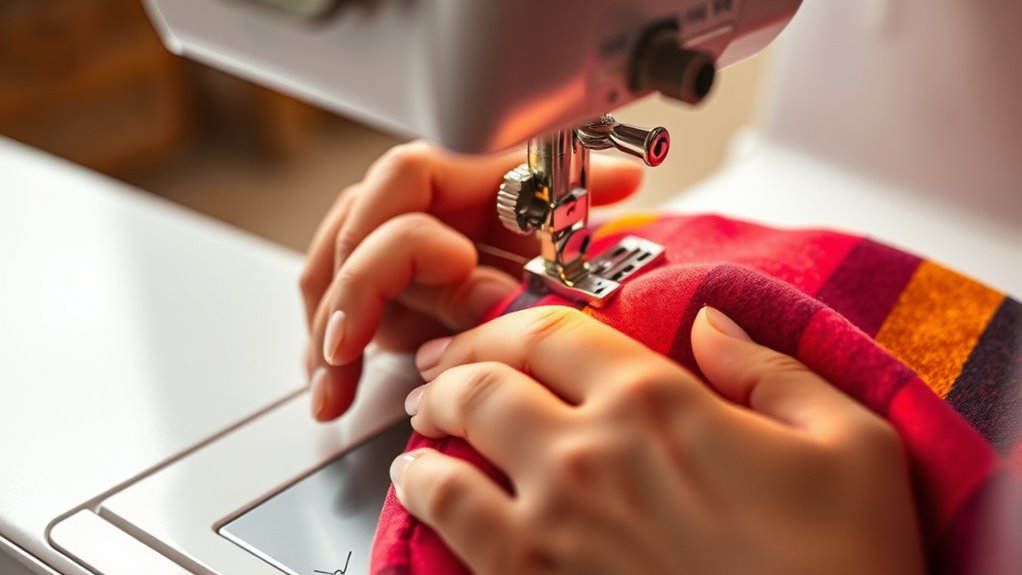
To operate your sewing machine, start by setting it up correctly and ensuring it’s plugged in. Next, thread the bobbin and needle properly to keep your stitches smooth and even. Once ready, explore different stitch patterns to match your project’s needs.
Setting Up the Machine
Setting up your sewing machine properly is essential for smooth and successful sewing. Before you start, verify the machine is calibrated correctly to prevent stitching issues. Check the tension and stitch settings, adjusting as needed. Keep your machine in good condition by storing it with proper storage solutions, such as dust covers or dedicated cabinets, to avoid dust buildup and damage. Proper setup also involves placing your fabric and tools nearby for efficiency. Regularly reviewing your machine’s maintenance schedule ensures it remains in optimal condition for sewing projects. Additionally, using professional equipment can improve the quality of your sewing work and extend the lifespan of your machine.
Threading the Bobbin and Needle
Before you start sewing, it’s important to thread both the bobbin and the needle correctly. Begin with bobbin winding: place the thread on the bobbin, follow your machine’s winding instructions, and make sure it’s evenly wound without gaps. Once the bobbin is wound, insert it into the bobbin case, making certain it spins freely. Next, move to needle threading: raise the presser foot, lift the needle, and pass the thread through the needle’s eye from front to back. Some machines have automatic needle threading; if not, carefully thread it manually. Double-check that the thread is securely through the needle’s eye and the bobbin is properly in place. Correct threading ensures smooth stitching and prevents tangles or skipped stitches. Additionally, ensuring proper trustworthiness of your sewing machine can help maintain consistent performance over time. Regularly cleaning and oiling your sewing machine also supports its long-term durability.
Operating Stitch Patterns
Have you ever wondered how to choose the right stitch pattern for your project? Operating stitch patterns on your sewing machine allows you to create different textures and finishes. With various stitch pattern varieties, you can select functional stitches like zigzag or straight, or explore decorative stitching for embellishments. To operate these patterns, consult your machine’s stitch menu and adjust the stitch length and width as needed. Understanding sewing machine features can help you decide when incorporating certain techniques or accessories into your routine. Key tips:
- Test new stitch patterns on scrap fabric before working on your main project.
- Use decorative stitching to add personal touches or decorative borders.
- Switch between stitch patterns easily with the pattern selector dial or buttons.
- Combine different stitches for unique designs and professional-looking results.
Mastering stitch pattern operation elevates your sewing projects to the next level.
Reading and Using Sewing Patterns

Reading and using sewing patterns can seem intimidating at first, but with a few key tips, you’ll become comfortable interpreting the symbols and instructions. Start by familiarizing yourself with pattern symbols, which indicate darts, grainlines, or cutting lines. Always check the size charts on the pattern envelope to select the correct size for your measurements. Understanding these guides assures a proper fit from the start. Being aware of cybersecurity vulnerabilities in digital pattern files can help protect your personal information when downloading patterns online.
Here’s a quick reference:
| Pattern Symbol | Meaning | Common Use |
|---|---|---|
| Dotted Line | Cutting line | Cutting pattern |
| Solid Line | Stitching line | Sewing edges |
| Arrow | Grainline direction | Fabric alignment |
| Notches | Matching points for assembly | Piece alignment |
Mastering these elements makes sewing more efficient and enjoyable.
Cutting and Preparing Fabric
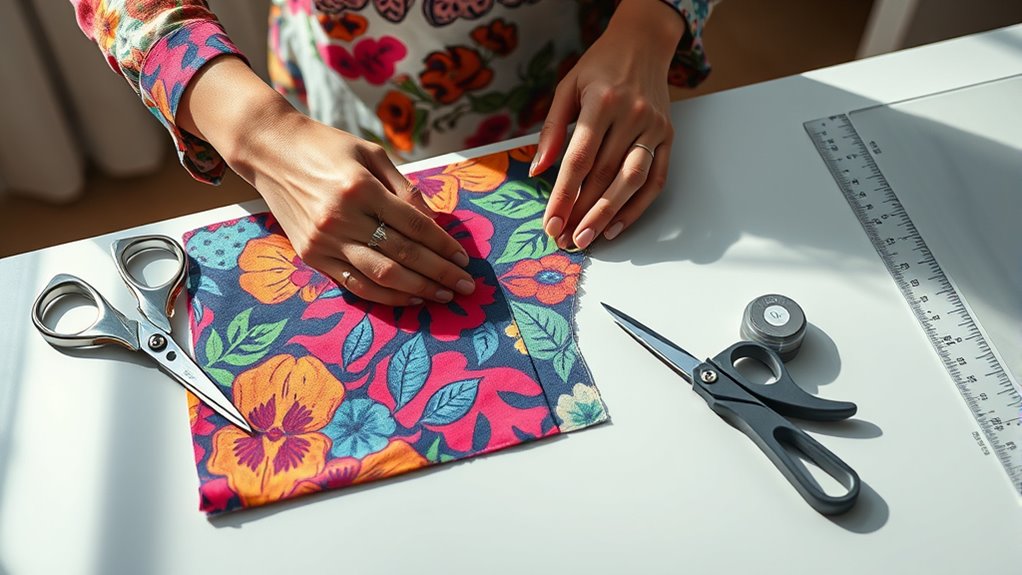
Once you’ve chosen your fabric and gathered your pattern, it is essential to prepare your materials properly. Start by washing and pressing your fabric to prevent shrinkage later. When folding fabric, align the edges carefully, ensuring the grain direction runs parallel to the selvage; this maintains fabric stability and drape. Use fabric weights or pins to secure your pattern pieces, avoiding distortion. Pay close attention to the grain line marked on your pattern, aligning it with the fabric’s selvage for proper drape and fit. Before cutting, double-check that your fabric is lying flat without wrinkles. Properly aligning the grain ensures your finished garment will hang correctly and resist twisting or skewing over time. Additionally, understanding the importance of the grain in sewing can help you achieve a more professional and durable result. Recognizing how fabric stability affects your project can also influence your choice of fabrics and construction techniques. Being mindful of vintage and antique furnishings when selecting your fabric can add authentic charm to your sewing projects. By carefully folding and aligning your fabric, you set a solid foundation for precise cuts and a professional-looking finished garment.
Sewing Seams and Finishing Edges

Are you ready to join your fabric pieces with clean, durable seams? First, set your seam allowances, typically 1/4 to 5/8 inch, depending on the project. Sew along the edge, keeping your stitches even and consistent. Once sewn, finish the raw edges using edge finishing techniques like zigzag stitching, pinking shears, or serging to prevent fraying. This creates a neat, professional look and extends the life of your garment. Press your seams open or to one side for a flat finish. Proper seam allowances ensure your seams are strong without adding bulk, while edge finishing keeps your fabric from unraveling. Mastering these techniques helps produce polished, long-lasting projects that look professional and hold up over time.
Tips for Troubleshooting and Maintaining Your Machine
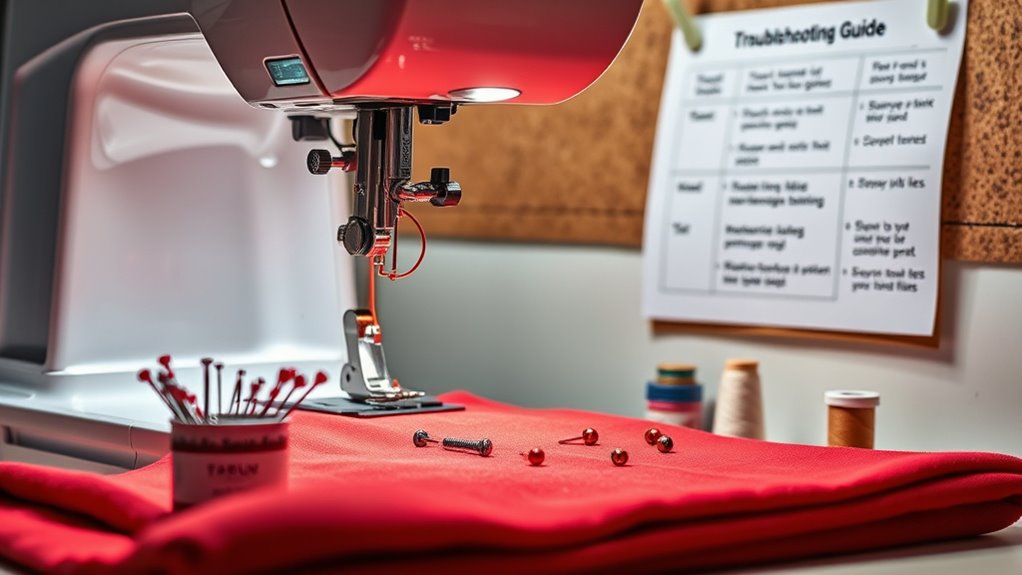
To keep your sewing machine running smoothly, regular maintenance and troubleshooting are essential. Proper machine maintenance prevents issues and extends your machine’s lifespan. When troubleshooting techniques don’t resolve a problem, check for common causes like tangled threads or lint buildup. Regularly clean and oil your machine as recommended. Ensure your needle is sharp and correctly installed. Additionally, verify that your bobbin is wound properly and seated correctly.
Regular cleaning, proper needle use, and correct bobbin placement keep your sewing machine sewing smoothly.
- Clean lint and dust from the bobbin case and feed dogs
- Replace worn or bent needles promptly
- Use quality thread to avoid jams and skipped stitches
- Check tension settings and adjust as needed
Mastering these troubleshooting techniques and maintenance tips keeps your machine in top shape, making sewing easier and more enjoyable.
Frequently Asked Questions
How Do I Choose the Right Sewing Needle for Different Fabrics?
When choosing a sewing needle, consider your fabric types and needle sizes. For delicate fabrics like silk, use a fine, sharp needle to prevent damage. Thicker fabrics like denim need a larger, sturdier needle. Match the needle size to the fabric weight—smaller numbers for lightweight fabrics, larger numbers for heavier materials. This guarantees smooth sewing and avoids skipped stitches, making your project look professional.
What Are Common Sewing Mistakes to Avoid for Beginners?
Did you know that nearly 70% of beginners struggle with sewing mistakes? To avoid common errors, pay close attention to thread tension and fabric choice. Improper tension can cause puckering or loose stitches, so test and adjust it before sewing. Always select the right fabric for your project, as using unsuitable material leads to frustration and poor results. Staying mindful of these details helps you sew confidently and successfully.
How Can I Properly Store and Organize My Sewing Tools?
To keep your sewing tools organized, you should use DIY storage solutions like labeled jars, small containers, or a pegboard for easy access. Incorporate sewing room decor to make your space inviting, like colorful bins or vintage tins. Regularly declutter and clean your tools to prevent damage. By creating a functional and visually appealing setup, you’ll stay motivated and find everything quickly, making sewing more enjoyable and efficient.
What Safety Precautions Should I Take While Using a Sewing Machine?
Imagine you’re finishing a project when your sewing machine suddenly jams. To stay safe, always unplug the machine before maintenance or needle threading tips. Keep your fingers clear of the needle path, and regularly check for loose parts. Proper sewing machine maintenance and handling help prevent accidents. By following these safety precautions, you protect yourself and ensure your machine runs smoothly, making sewing more enjoyable and safe.
How Do I Alter or Resize a Sewing Pattern?
To alter or resize a sewing pattern, start with pattern grading, which involves adjusting the pattern size for a better fit. You can make size adjustments by adding or subtracting from the pattern’s lines, using a ruler or pattern paper. Carefully trace the new lines, ensuring symmetry, and make any necessary notches or markings. Always check your measurements and make a test muslin to confirm the fit before cutting your final fabric.
Conclusion
Just like a painter masters their brush, mastering these sewing basics opens your creative potential. With patience and practice, you’ll weave your own stories into fabric, turning simple stitches into works of art. Remember, every seam you sew is a step toward confidence—your own thread in the fabric of self-expression. Keep stitching, keep dreaming, and soon you’ll find that sewing becomes not just a skill, but an extension of your unique spirit.