
You can easily handle common home repairs like fixing leaky faucets by turning off the water supply, replacing washers or O-rings, and tightening connections. For wall holes, clean the area, use spackle or a drywall patch, and smooth with joint compound before painting. Gather basic tools and replacement parts to save money and time. Follow simple steps to keep your home in top shape—continue to explore more practical tips and tricks.
Key Takeaways
- Turn off water supply and replace worn-out washers or O-rings for leaky faucets.
- Use wall patching techniques with spackle or drywall patches for small or large holes.
- Gather basic tools like screwdrivers, putty knives, and drywall saws to simplify DIY repairs.
- Always shut off water before plumbing repairs and follow safety guidelines for wall patching.
- Save money and time by completing quick repairs with proper materials and techniques.

Ever wondered how you can fix common household issues without calling a handyman? The good news is, many simple home repairs are within your reach, and you don’t need to be a professional to get them done. Whether it’s fixing a leaky faucet or patching up wall holes, tackling these tasks can save you money and give you a real sense of accomplishment.
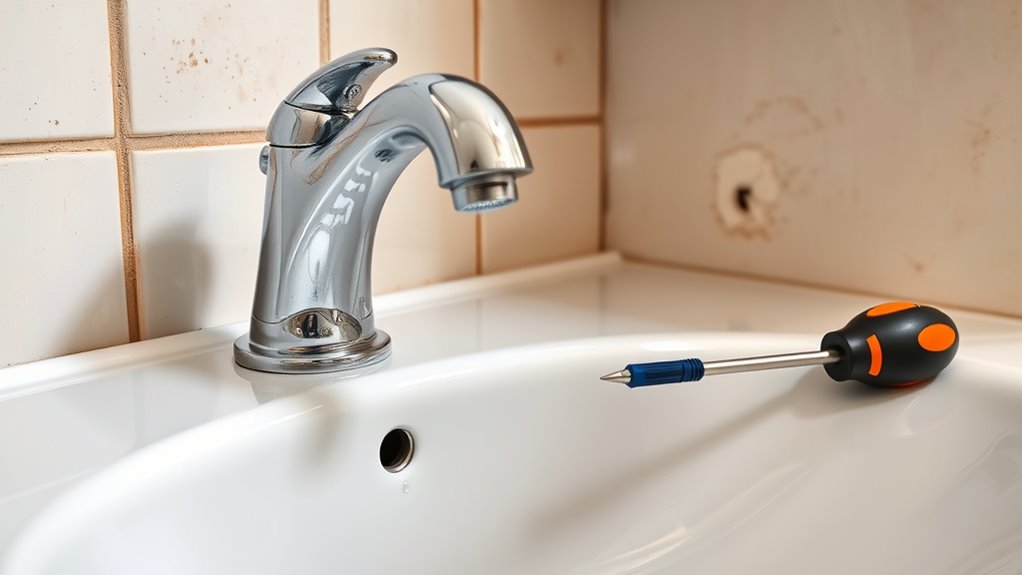
Let’s start with plumbing fixes. A dripping faucet can be annoying and waste a lot of water if left untreated. The fix is often straightforward. First, turn off the water supply under the sink. Remove the handle or the cap to access the valve. Usually, the cause is a worn-out washer or O-ring. Replace these parts, and reassemble everything. If the leak persists, check for a loose or damaged cartridge or valve seat. Replacing these parts might take a little more effort but is still manageable with some basic tools. Remember, always shut off the water before beginning, and keep track of all the small parts you remove.
When it comes to wall holes, don’t worry if your adventures in hanging pictures or furniture have left unsightly gaps. Wall patching is easier than you think. Start by cleaning the area around the hole and removing any loose debris. For small holes, a simple spackle or wall putty works well. Apply it with a putty knife, pressing it into the hole and smoothing the surface. For larger holes, you might need to patch with a piece of drywall or a wall repair patch. Cut a piece slightly bigger than the hole, secure it with drywall adhesive or screws, and then cover the edges with joint compound. Once dry, sand it smooth and paint over to match your wall. These small repairs can be completed in just a few steps, and the results are often indistinguishable from professional work. Incorporating cozy fireplace surrounds or decorative touches around the repair can help blend the patch seamlessly into your wall.
Top picks for "simple home repair"
Open Amazon search results for this keyword.
As an affiliate, we earn on qualifying purchases.
Frequently Asked Questions
What Tools Are Essential for Basic Home Repairs?
When tackling basic home repairs, you need essential tools like a screwdriver, pliers, a hammer, and a wrench. These tools help with plumbing basics, such as fixing leaky faucets or tightening fittings. Make sure to keep your tools well-maintained for safety and efficiency. Having these on hand allows you to handle common issues quickly and confidently, saving you money and preventing small problems from becoming bigger ones.
How Do I Identify the Cause of a Leaky Faucet?
To identify the cause of a leaky faucet, start by examining the faucet components, like the valve, O-rings, and washers. Look for leak sources around these parts, especially when the water drips or sputters. Turn off the water supply first, then inspect for cracks, corrosion, or worn-out seals. Replacing faulty components usually stops the leak, saving you from costly repairs and water waste.
When Should I Call a Professional Instead of Repairing Myself?
Thinking you’re Bob the Builder might seem fun, but when should you call a pro? If your DIY risk turns into a plumbing disaster or a professional assessment reveals complex issues, it’s time to hang up your toolbelt. Save yourself the headache and potential damage—trust the experts when leaks are stubborn, or repairs threaten to turn into costly chaos. Sometimes, even DIY heroes need a real hero.
Are There Safety Precautions for DIY Wall Repairs?
When doing DIY wall repairs, safety precautions are essential. You should always wear safety gear like goggles, gloves, and a dust mask to protect against debris and dust. Be aware of hazards such as electrical wiring or hidden pipes behind the wall. Turn off power and water supplies before starting, and work in well-ventilated areas. Staying alert and following these safety measures helps prevent accidents and injuries.
How Long Do DIY Repairs Typically Last?
Did you know that properly done DIY repairs can last up to 5-10 years? The longevity of your repairs depends on the materials used and your craftsmanship. Typically, with good maintenance tips, DIY fixes like patching walls or fixing leaks can stay intact for several years. To maximize repair longevity, follow recommended maintenance tips, keep an eye on wear and tear, and address issues promptly to prevent further damage.
Conclusion
Now, as you finish fixing that leaky faucet or patching up wall holes, you realize how satisfying it is to handle small repairs yourself. It’s funny how a simple tool or a quick fix can turn a frustrating problem into a moment of pride. The next time you notice a leak or a crack, you’ll already have the confidence to tackle it. Before you know it, your home will look better, and you’ll feel more accomplished every time.