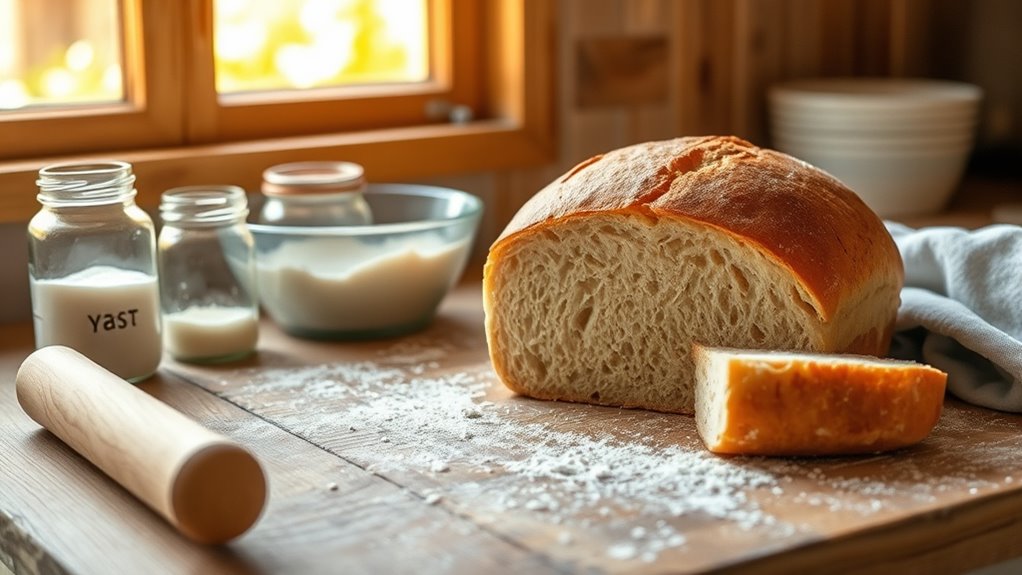

Baking bread at home starts with understanding how yeast works; it feeds on sugars, producing carbon dioxide that makes your dough rise. To activate it, mix yeast with warm water and a pinch of sugar until bubbles form, showing it’s alive. Knead the dough until it’s smooth and elastic, then let it rise in a warm, draft-free spot. Keep practicing, and you’ll soon master the skills for perfect fresh loaves every time.
Key Takeaways
- Activate yeast in warm water with a pinch of sugar to ensure it’s alive and ready for baking.
- Knead the dough thoroughly until it’s smooth, elastic, and passes the windowpane test for proper gluten development.
- Allow the dough to rise in a warm, draft-free environment until doubled in size for optimal fermentation.
- Shape the risen dough into your desired loaf and let it rise again briefly before baking.
- Bake at the recommended temperature until crust is golden and loaf sounds hollow when tapped.

Baking bread at home might seem intimidating at first, but with a few simple steps, you can enjoy fresh, warm loaves anytime. The key to starting out successfully is understanding how yeast fermentation works. Yeast is a tiny microorganism that feeds on the sugars in your dough, producing carbon dioxide and alcohol in the process. This fermentation causes the dough to rise, creating the light, airy texture you’re aiming for. To encourage proper yeast activity, you’ll want to guarantee your ingredients are at the right temperature—warm water, around 100°F to 110°F, activates the yeast without killing it. Mixing your yeast with a bit of sugar and warm water before adding it to your flour helps kickstart fermentation. You’ll notice bubbles forming, which signals that the yeast is active and fermenting properly. This step is vital because it confirms your yeast is alive and ready to do its job. When working with yeast, it’s important to understand that the environment impacts fermentation, so controlling temperature and humidity can make a difference.Yeast activity is most efficient in a warm, draft-free space.
Once you’ve combined your ingredients, dough kneading techniques become essential. Kneading develops the gluten structure in your dough, giving it strength and elasticity. You want to knead until the dough is smooth, slightly tacky, and springs back when pressed. The process involves folding and pressing the dough repeatedly, either by hand or with a stand mixer fitted with a dough hook. When kneading by hand, use the heel of your palm to push the dough away from you, then fold it back over itself, turning it a quarter turn each time. This method ensures even gluten development. Proper kneading can take about 8 to 10 minutes by hand; if using a mixer, it might take just 5 to 7 minutes on a low to medium speed. The goal is to achieve a dough that’s soft but resilient—stretched without tearing easily. You can test if your dough is kneaded enough by performing the windowpane test: stretch a small piece of dough into a thin, translucent membrane without tearing. If it passes this test, your dough has developed enough gluten, and you’re ready for the next step.
As you work through these steps, remember that patience is key. Letting your dough rise in a warm, draft-free spot allows the yeast to ferment effectively, producing the gases that create the bread’s volume and flavor. The more you practice dough kneading techniques and understand yeast fermentation, the more confident you’ll become. Before long, you’ll be shaping loaves with ease and savoring the aroma of freshly baked bread. Baking at home is rewarding, and mastering these foundational skills gives you the perfect start to baking delicious, homemade bread every time.
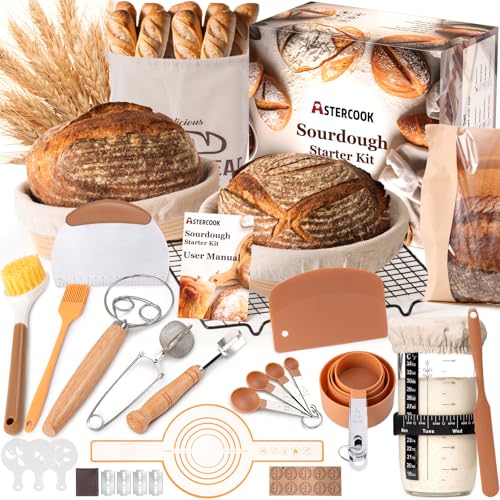
Astercook Sourdough Starter Kit with Round & Oval Banneton Bread Proofing Basket, Starter Jar, Dough Whisk, Scrapers, Stencils, Complete Sourdough Bread Baking Supplies, Fathers Day Gift for Men
【All in One Sourdough Starter Kit】 Unlike basic sourdough proofing basket sets, this complete kit includes everything. You…
As an affiliate, we earn on qualifying purchases.
As an affiliate, we earn on qualifying purchases.
Frequently Asked Questions
How Do I Troubleshoot if My Bread Doesn’T Rise?
If your bread doesn’t rise, first check if your yeast activated properly by proofing it in warm water with a little sugar; it should foam within 10 minutes. If not, replace the yeast. Also, make certain you’re using correct dough kneading techniques, as under-kneading can prevent proper gluten development. Adjust your kneading and proofing times if needed, and keep the dough in a warm spot to encourage rising.
What Are Alternative Flours for Gluten-Free Baking?
When exploring alternative flours for gluten-free baking, you can try gluten free grains like rice, sorghum, or millet. These work well individually or combined in alternative flour blends. You might also experiment with tapioca or potato starch to improve texture and elasticity. Using a mix guarantees better flavor and structure. Keep in mind, each gluten-free flour has unique properties, so don’t hesitate to adjust your recipes until you find the perfect blend for your baked goods.
How Long Can Homemade Bread Stay Fresh?
Think of your homemade bread as a precious jewel, needing proper care to preserve its shine. Usually, it stays fresh for about 2-3 days at room temperature when wrapped properly, like a secret kept safe. For longer freshness, consider freezing it, locking in its flavor and texture. Proper bread preservation and freshness maintenance guarantee your loaf remains delightful, turning everyday bread into a treasured keepsake.
Can I Bake Bread Without a Bread Machine?
Yes, you can definitely bake bread without a bread machine. There are plenty of bread machine alternatives, like mixing and kneading by hand or using a stand mixer. Manual baking methods give you more control over the process, allowing you to experiment with different recipes and techniques. Just follow a reliable recipe, knead the dough thoroughly, let it rise properly, and bake in your regular oven for fresh, homemade bread.
What Are Tips for Storing Leftover Bread Properly?
Did you know proper bread storage really preserves freshness? To keep leftover bread delicious, store it in a paper bag or bread box for a crispy crust, or wrap it tightly in plastic for softness. Avoid refrigerating, which speeds staling. If you won’t eat it soon, freeze slices or whole loaf in airtight containers. These tips help maintain texture and flavor, ensuring your bread stays tasty longer.

BOORIKA Sourdough Bread Baking Tool Set with Danish Dough Whisk, Bread Lame & Blades, Bench Scraper, Dough Scrapers and Silicone Brush – Sourdough Starter Kit
* All-in-One Artisan Bread Kit – Includes everything you need to bake like a pro: Danish dough whisk,…
As an affiliate, we earn on qualifying purchases.
As an affiliate, we earn on qualifying purchases.
Conclusion
Baking bread at home is both rewarding and fun, giving you fresh, delicious loaves anytime you want. Did you know that nearly 40% of Americans have tried baking their own bread since 2020? That’s a proof to how much people crave homemade comfort. So, keep experimenting with recipes and techniques—your perfect loaf is just a bake away. With a little practice, you’ll soon enjoy the irresistible aroma of freshly baked bread filling your home.
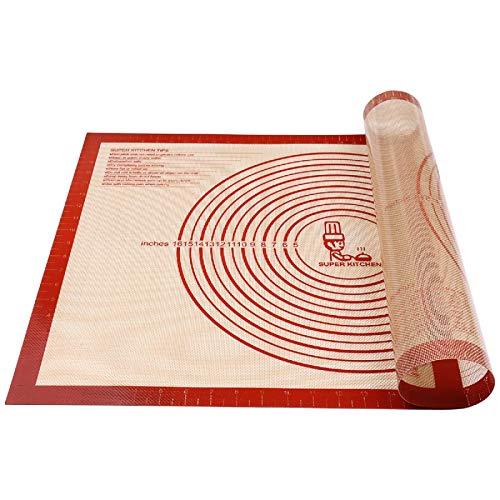
Non-slip Silicone Pastry Mat Extra Large with Measurements 28''By 20'' for Silicone Baking Mat, Counter, Dough Rolling, Oven Liner,Fondant/Pie Crust By Folksy Super Kitchen Red
Premium Safe Silicone:We attach great importance to the health of our customers.So we offer the premium food grade…
As an affiliate, we earn on qualifying purchases.
As an affiliate, we earn on qualifying purchases.

Sourdough Proofing Basket Gift Set, 9" Round and 10" Oval Banneton Bread Baking Supplies, Sourdough Baskets with Bread Lame, Danish Whish, Bowl Scraper, Sourdough Scraper, and Linen Liner
What You Get: 1 9-inch round banneton bread proofing basket , 1 10-inch oval proofing basket, 2 liners,…
As an affiliate, we earn on qualifying purchases.
As an affiliate, we earn on qualifying purchases.