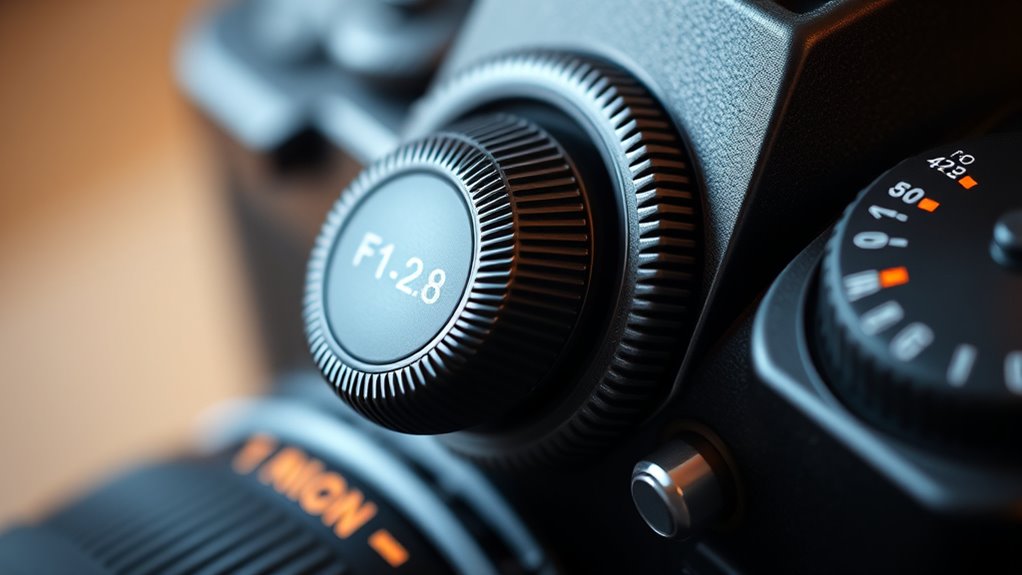
To master your camera settings, you need to understand how aperture, shutter speed, and ISO work together. Aperture controls depth of field and brightness, while shutter speed influences motion clarity and creative effects like motion blur. ISO adjusts your sensor’s sensitivity to light. Experiment with these settings to get the desired look and feel for your shots. Keep exploring how adjusting each one impacts your images, and you’ll discover more creative possibilities.
Key Takeaways
- Aperture controls depth of field and exposure, affecting background blur and scene sharpness.
- Shutter speed determines motion capture and can create sharp images or motion blur effects.
- ISO adjusts sensor sensitivity, influencing image brightness and noise levels.
- Balancing aperture, shutter speed, and ISO is essential for optimal exposure and creative control.
- Understanding their interplay allows for mastering different lighting conditions and artistic effects.
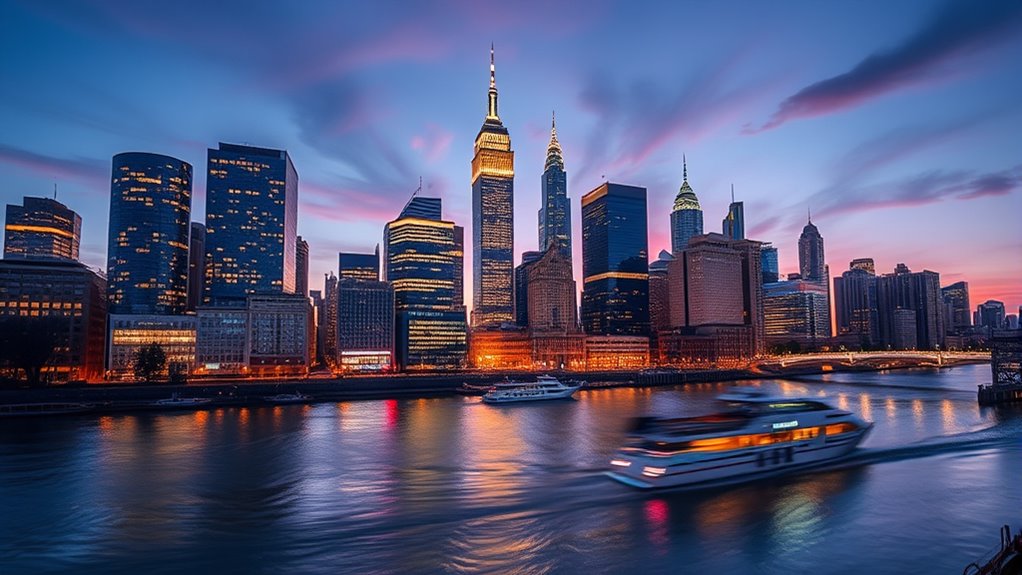
Have you ever wondered how professional photographers capture stunning images? The secret often lies in mastering camera settings like aperture, shutter speed, and ISO. These controls allow you to shape your photos creatively and technically. Understanding how they work together helps you craft images with the desired depth of field or motion blur, giving your photos a professional edge.
Let’s start with aperture, which is measured in f-stops. A wide aperture (like f/1.8) creates a shallow depth of field, blurring the background and bringing your subject into sharp focus. This effect makes your subject stand out, perfect for portraits or detail shots. Conversely, a narrow aperture (such as f/16) increases the depth of field, keeping more of the scene in focus — ideal for landscapes or architecture. Playing with aperture also impacts motion blur. A wide aperture isn’t directly related to motion blur, but it allows you to use faster shutter speeds in brighter conditions, reducing unwanted motion in your images. On the other hand, if you want to incorporate motion blur intentionally, such as capturing the flow of a waterfall or moving cars, a narrower aperture combined with slower shutter speeds helps create that sense of movement while keeping the scene properly exposed.
Shutter speed controls how long your camera’s sensor is exposed to light. Faster shutter speeds (like 1/1000s) freeze motion, capturing sharp images of fast-moving subjects like athletes or birds in flight. If you’re after a sense of motion, you’ll slow the shutter down — perhaps to 1/30s or even several seconds — which introduces motion blur. This effect can make your photos feel dynamic and alive, emphasizing movement and speed. But be careful: slower shutter speeds can cause camera shake, so using a tripod becomes essential when trying to achieve a clear shot with motion blur. Additionally, understanding the contrast ratio of your projector can help you evaluate how well it will render scenes with both very dark and very bright areas, ensuring your images maintain clarity across different lighting conditions.
Frequently Asked Questions
How Do I Choose the Right Aperture for Landscape Photography?
When choosing the right aperture for landscape photography, you want to maximize your depth of field so everything stays sharp. Use a smaller lens aperture, like f/8 or f/11, to achieve this. This setting keeps both foreground and background in focus, giving your landscape depth and clarity. Keep in mind, a smaller aperture also means less light enters, so you may need to adjust your shutter speed or ISO accordingly.
What Shutter Speed Is Best for Freezing Fast Motion?
To freeze fast motion, you should use a shutter speed of at least 1/1000 second. This fast speed minimizes motion blur and prevents camera shake when capturing quick actions like sports or wildlife. If your shutter speed is too slow, you’ll notice blurry images. Adjust your settings accordingly, and consider using a tripod if you’re shooting in lower light to avoid camera shake while maintaining a sharp, crisp shot.
How Does ISO Affect Image Noise?
You should know that ISO affects your image noise by changing your camera’s sensor sensitivity. When you increase ISO, your sensor becomes more sensitive, which allows you to shoot in lower light. However, this also introduces more digital noise, making your images grainier. To keep noise minimal, try to use the lowest ISO possible for your lighting conditions, balancing exposure and image quality effectively.
Can I Manually Adjust Settings on All Camera Models?
Think of your camera as a musical instrument—you can play it automatically or take control manually. When you ask if you can adjust settings on all models, remember that camera compatibility varies; some allow full manual control, while others rely on automatic modes. You’ll need to check your camera’s features. With practice, you’ll learn to switch seamlessly between automatic and manual, creating your perfect shot every time.
What Are the Effects of Changing ISO in Low Light Conditions?
When you increase ISO in low light, you boost your camera’s sensor sensitivity, making it easier to capture brighter images in dim conditions. However, this also introduces more digital noise, which can reduce image quality. You should find a balance between enough sensitivity for proper exposure and minimal noise. Lower ISO settings keep your images cleaner, but might require longer exposures or additional lighting to achieve the desired brightness.
Conclusion
By mastering aperture, shutter speed, and ISO, you’re holding the keys to unseal your creative vision. Think of your camera as a compass guiding you through the vast landscape of light and shadow. Each setting is a stepping stone toward capturing your unique story. When you understand their symbolism—control, timing, and sensitivity—you wield the power to turn moments into timeless images. Embrace these tools, and let your photography become a reflection of your inner world.
