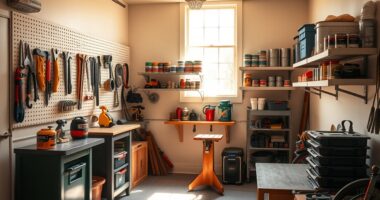
A basic DIY toolkit should include essential hand tools like a hammer, screwdrivers (Phillips and flathead), tape measure, pliers, utility knife, and an adjustable wrench for versatile tasks. A level, square, and power drill with bits guarantee accuracy and efficiency. Don’t forget safety gear like goggles, gloves, and dust masks to stay protected. Mastering these tools sets a solid foundation—keep exploring to discover tips on maintaining and using them effectively.
Key Takeaways
- Start with essential hand tools like hammers, screwdrivers, pliers, and a tape measure for versatile DIY projects.
- Use power tools such as cordless drills with appropriate bits for efficient drilling and screwing tasks.
- Maintain tools regularly by cleaning, inspecting for damage, and storing properly to extend lifespan and ensure safety.
- Select safety gear like gloves, goggles, masks, and ear protection to prevent injuries during various tasks.
- Ensure measurement accuracy with a good level and square, double-checking all marks and angles before cutting or assembling.
Hammer and Claw Hammer
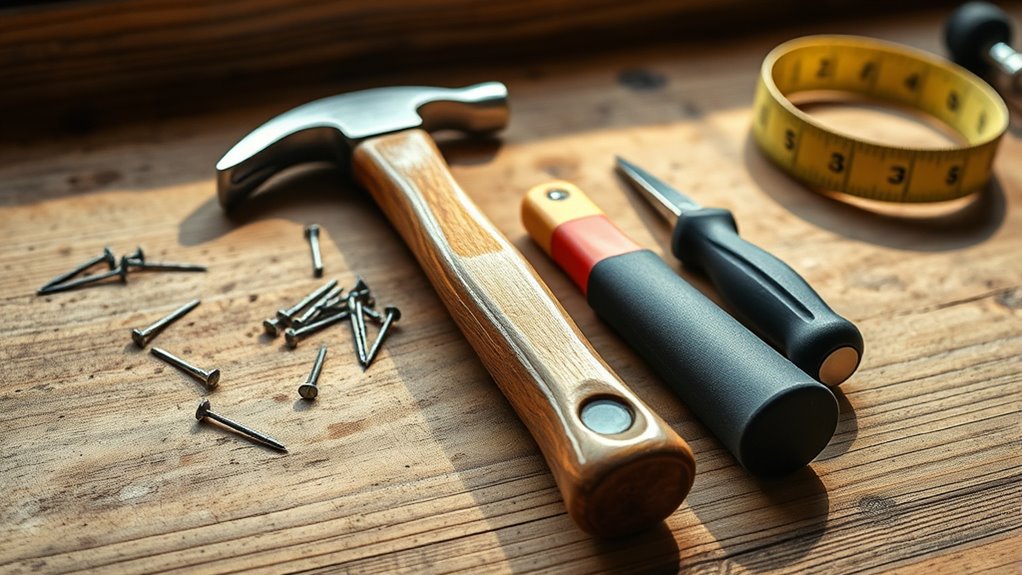
Have you ever wondered why a hammer is a must-have tool in every toolbox? The claw hammer has a fascinating history, dating back centuries when it was used for carpentry and construction. Its design, with a flat face for driving nails and a curved claw for removing them, has stood the test of time. To keep your claw hammer in top shape, follow some simple hammer maintenance tips: clean it regularly, check the handle for cracks, and guarantee the head is securely attached. Proper maintenance prevents accidents and prolongs its life. Whether you’re hanging pictures or building furniture, a well-maintained hammer is your reliable partner. Regular inspections can also help you recognize sound healing science principles that could inspire better tool design and maintenance practices. Additionally, understanding material properties can help in selecting the right hammer for various tasks, ensuring durability and safety.
Screwdrivers: Phillips and Flathead
Screwdrivers are essential tools for driving and removing screws, with two common types: Phillips and flathead. Phillips screwdrivers have a cross-shaped tip, ideal for gripping screws firmly, while flathead screwdrivers feature a straight blade for slotted screws. Choosing the right screwdriver ensures efficient work and prevents stripping screws. When working with different materials, consider drill bit selection to create ideal pilot holes, making screw tightening techniques easier and more secure. Using the correct screwdriver and technique saves time and effort on your DIY projects. Versatility in screwdriver types allows for a wide range of applications around the home and in various projects, especially when working with fabric decorating markers or crochet tools for creative customization. Proper selection of screwdriver tips can also improve performance when working on Volkswagen Tuning projects, ensuring your modifications are done correctly and safely. Incorporating knowledge about Glycolic Acid benefits can also enhance your understanding of skin care while tackling home improvement tasks.
Tape Measure
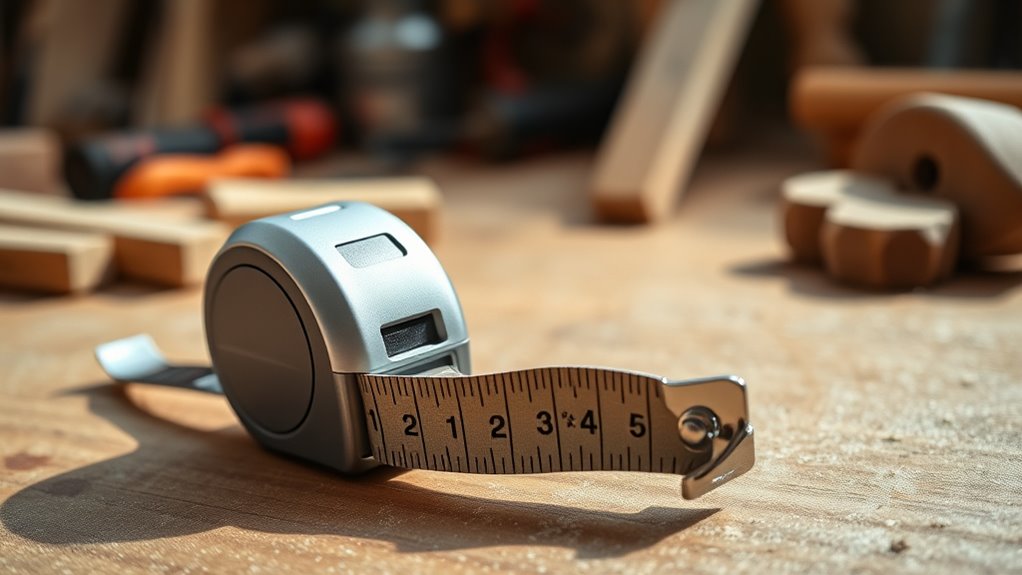
Choosing the right size tape measure is essential for accurate work, so pick one that fits your projects. Learning proper measuring techniques guarantees your measurements are precise and reliable. For example, understanding how to measure outdoor seating options can help enhance your coastal experience. Incorporating creative problem-solving into your measuring approach can also improve accuracy and efficiency. Let’s explore how to select the best tape measure and use it effectively. For convenience, consider store hours when planning your shopping or measuring sessions.
Subheading 1: Choosing the Right Size
Ever wonder how selecting the right measuring tape size can make your DIY projects easier? Choosing the correct measuring tape depends on your typical tasks. For small projects like hanging pictures or measuring furniture, a 25-foot measuring tape offers enough length without being bulky. If you frequently work on larger spaces or construction, opt for a 50-foot tape for extended reach. Keep in mind, a longer tape can be harder to handle and may require more tool storage space. A compact measuring tape is convenient for quick jobs and easier to store. Think about your projects’ scope when selecting size, balancing length and portability. Proper tool selection ensures you can complete projects more effectively and with fewer mistakes. Additionally, understanding lifestyle elements like workspace organization can help you set up your tools efficiently, making your DIY experience more enjoyable. For optimal results, consider knowing your tools to match your project requirements. Being aware of tool maintenance can also extend the lifespan of your measuring tapes and other equipment.
Subheading 2: Proper Measuring Techniques
To guarantee accurate measurements with your tape measure, it’s essential to use proper techniques every time you measure. Start by ensuring the tape lies flat against the surface without slack or twists. Keep the tape straight and avoid bending or sagging, which can compromise measuring accuracy. When measuring, hold the tape firmly at the end hook, but don’t pull too tight, as this can stretch the tape. When marking, use clear, precise techniques, such as a sharp pencil or marker, to verify your measurements are accurate. Always double-check your readings to avoid mistakes. Consistent measuring and marking techniques help prevent errors and ensure your project turns out exactly as planned. Proper measurement habits are key to successful DIY projects.
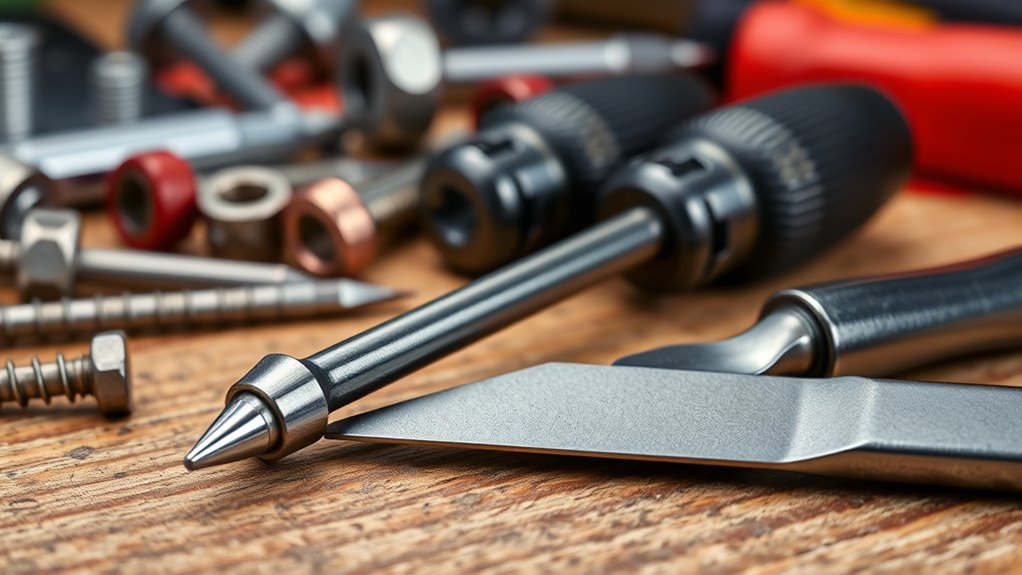
Pliers and Needle-Nose Pliers

Pliers and needle-nose pliers come in various types designed for specific tasks, from gripping to bending. Knowing which ones to use can make your projects easier and safer. Proper grip techniques guarantee you maintain control and avoid damage or injury. Using the appropriate garden tools can also improve the efficiency of your gardening tasks.
Types and Uses
Have you ever wondered which tools are best for gripping, twisting, or cutting small objects? Pliers and needle-nose pliers are versatile options. Standard pliers excel at gripping and twisting wires, while needle-nose pliers reach into tight spaces for precise tasks. Knowing their types helps you choose the right tool for each job. Proper tool maintenance, like cleaning and lubricating your pliers, keeps them functioning smoothly and extends their lifespan. Be cautious with sharp edges and apply controlled force to avoid damage or injury. Understanding the different cookie categories used on websites can help you manage your online privacy better. Additionally, selecting the appropriate contrast ratio in projectors ensures better image quality and viewing experience. By understanding the various types of pliers and their specific uses, you’ll work more efficiently and safely on your DIY projects. Incorporating market insights about current trends can also help you make informed decisions when selecting tools or planning projects.
Proper Grip Techniques
Mastering proper grip techniques is essential for using pliers and needle-nose pliers effectively and safely. An ergonomic grip helps reduce hand fatigue and provides better control. Position your fingers correctly by placing your thumb and fingers around the handle, ensuring a firm but comfortable hold. Keep your finger placement close to the pivot point for increased leverage and power, but avoid over-tightening, which can cause strain. Maintain a relaxed grip to avoid unnecessary fatigue and improve precision. When gripping, focus on applying even pressure across the handle, not squeezing too hard. This technique allows you to maneuver the tools smoothly and reduces the risk of slipping. Proper grip techniques enhance safety, efficiency, and accuracy during your DIY projects. Additionally, selecting the right automotive screwdrivers for your tasks can further improve your grip and control. Being aware of resources and tools available can also help you choose the best equipment for your needs. Understanding IRA investment strategies can also be beneficial if you’re planning for long-term financial stability during your projects or retirement. Incorporating proper tool maintenance ensures your tools remain in optimal condition, enhancing performance and longevity.
Utility Knife
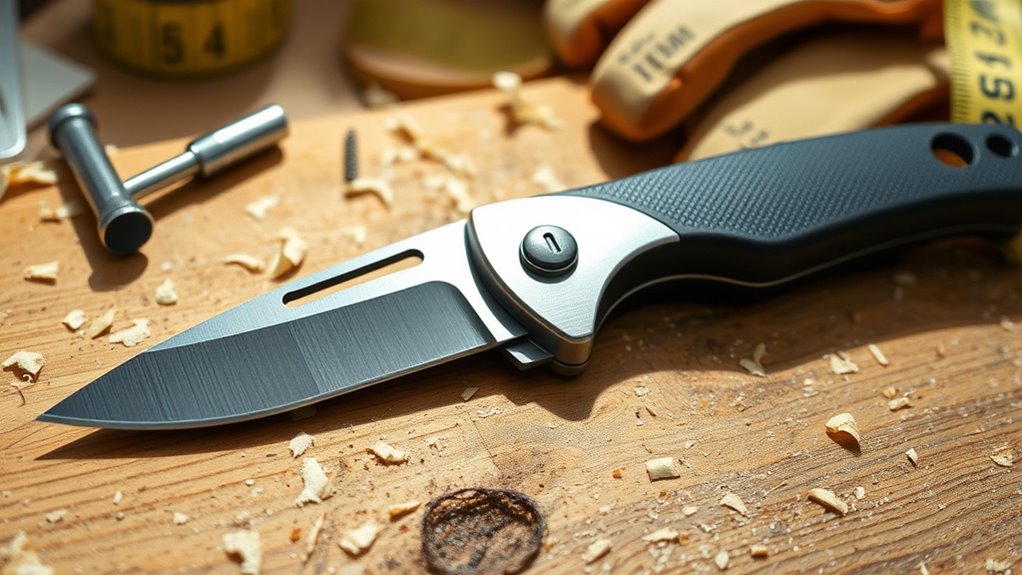
Why is a utility knife considered an essential tool in any DIY kit? Because it’s versatile and perfect for cutting a variety of materials. You can easily make precise cuts on cardboard, drywall, or plastic. To keep it safe and effective, remember these tips:
- Always use the correct blade for your task
- Replace blades carefully using proper blade replacement techniques
- Keep the blade sharp to prevent slips and injuries
- Always cut away from your body
- Follow safety precautions, like wearing gloves if needed
- Proper maintenance of your utility knife ensures longevity and consistent performance. Regularly inspecting and cleaning your utility knife can prevent rust and ensure smooth operation, especially when dealing with different material types. Additionally, understanding how to select the right tip size for spray projects can improve finishing results and efficiency. Using the right blade type can also make cutting more precise and reduce fatigue during extended use.
A utility knife is invaluable, but safety should come first. Proper blade replacement guarantees smooth cuts and reduces the risk of accidents. With these safety precautions, you’ll handle your utility knife confidently and efficiently.
Adjustable Wrench
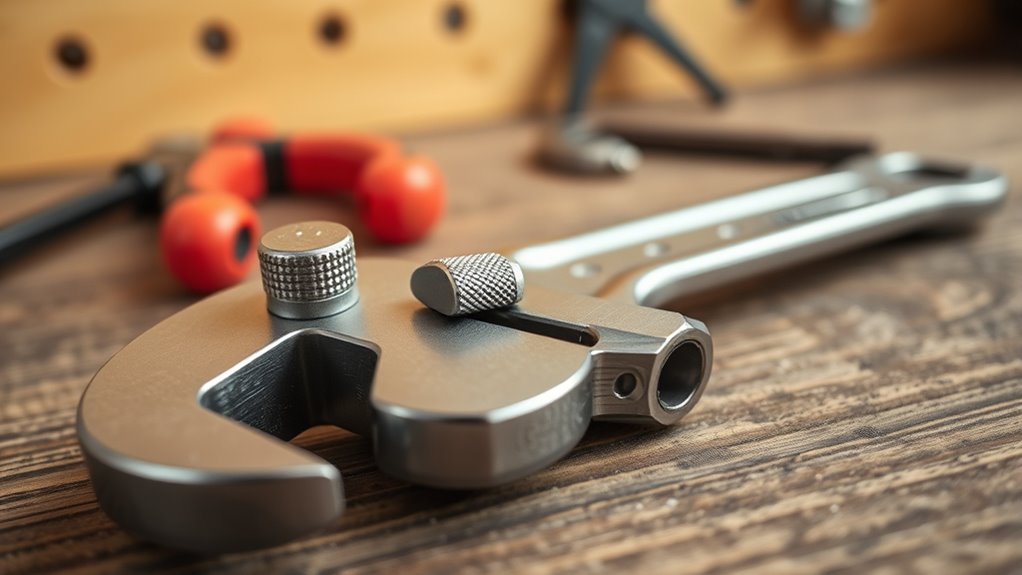
An adjustable wrench is a versatile tool that’s essential for gripping and turning various sizes of nuts and bolts. Its adjustable jaw allows you to work with different fastener sizes, making it perfect for many DIY projects. You’ll find adjustable wrench uses range from plumbing repairs to assembling furniture. To guarantee it works smoothly, proper adjustable wrench maintenance is key; keep the moving parts clean and lubricated, and always tighten the jaw after use. When using the wrench, make sure it fits snugly on the fastener to avoid slipping or damage. Avoid forcing it beyond its capacity, as this can damage the tool. With proper care and correct usage, your adjustable wrench will serve you well for many projects to come. Additionally, understanding tool specifications such as jaw width and material quality can help you select the best wrench for your tasks.
Level and Square
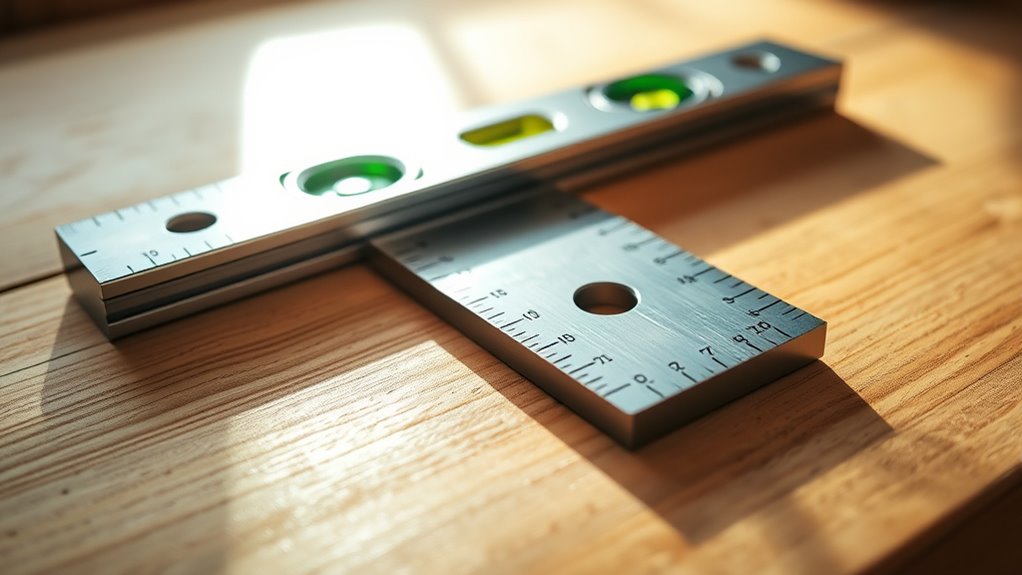
Have you ever built or hung something only to find it crooked or uneven? That’s where a level and square come in. They guarantee your measurements are accurate, preventing costly mistakes. To get reliable results, always check your tools’ calibration before use. A level helps confirm horizontal and vertical alignment, while a square ensures right angles. Keep these tips in mind:
- Regularly calibrate your tools for measuring accuracy
- Use a quality level for longer projects
- Check the square’s accuracy against known right angles
- Avoid relying on worn or damaged tools
- Recheck measurements periodically during your project
Power Drill and Bits
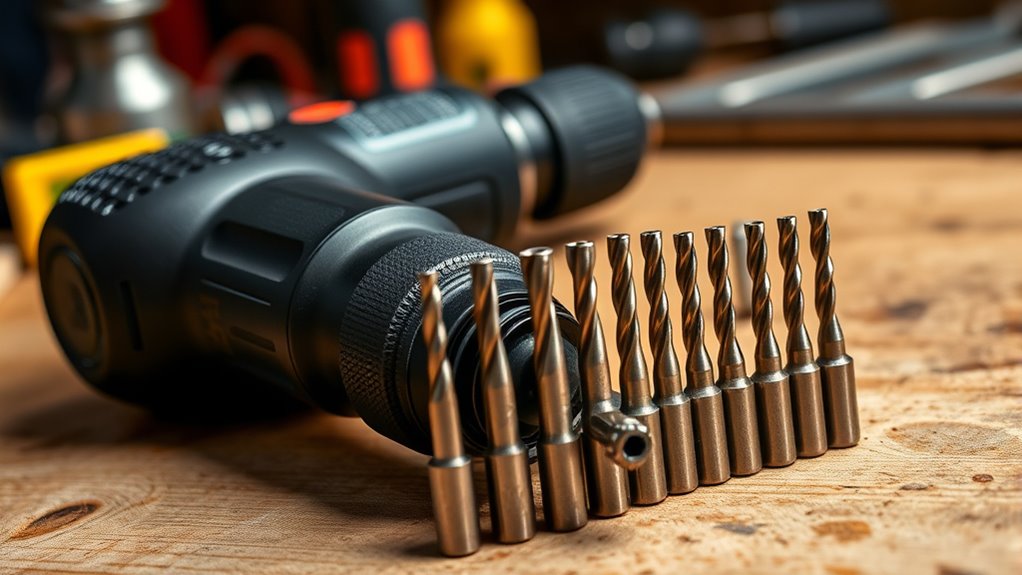
Ever wondered how to make drilling tasks easier and more precise? A cordless drill is your best friend for that. It offers portability and convenience, allowing you to work anywhere without worrying about cords. To get the most out of your drill, choose the right drill bits for each task. For wood, use spade or brad-point bits; for metal, high-speed steel bits work best. When selecting drill bits, pay attention to size and material to guarantee clean, accurate holes. Keep your drill bits sharp for excellent performance and avoid applying excessive pressure. With a good cordless drill and a variety of drill bits, you’ll complete your DIY projects faster and with better results. Mastering these tools is key to becoming a confident, efficient DIYer.
Safety Gear and Accessories
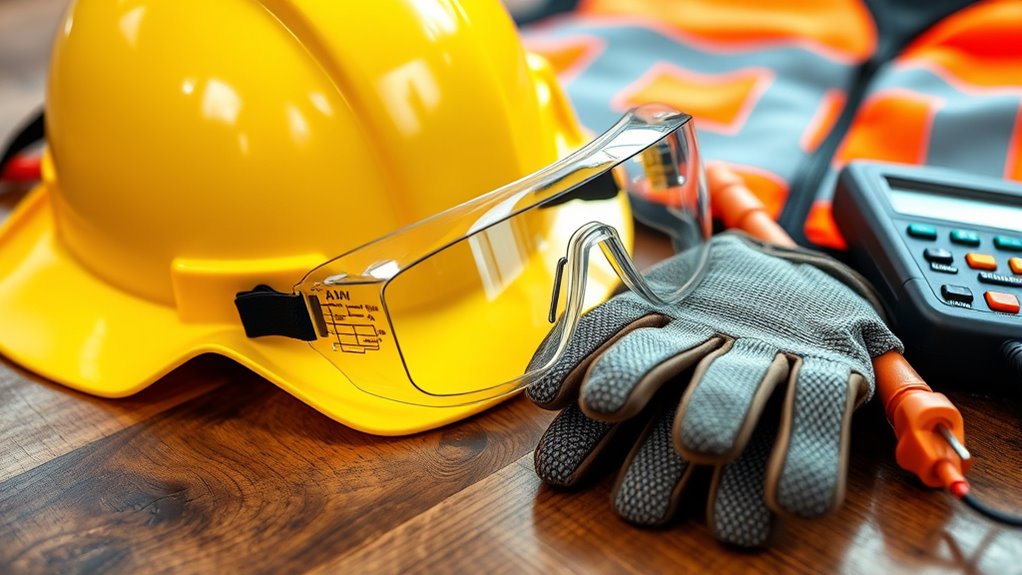
To work safely on your DIY projects, wearing the right safety gear and accessories is vital. Protective gloves keep your hands safe from cuts, splinters, and chemicals. Dust masks prevent inhaling harmful particles when sanding or working with dusty materials. Safety goggles protect your eyes from debris and splashes. Ear protection reduces noise damage during loud tasks. A sturdy helmet or hard hat safeguards your head from falling objects. Always make certain your safety gear fits well and is in good condition, as it’s imperative for preventing injuries and maintaining safety standards. Remember, investing in proper safety accessories like protective gloves and dust masks makes your DIY experience safer and more enjoyable. Prioritize safety to complete your projects with confidence.
Frequently Asked Questions
How Do I Choose the Right Tool for a Specific Project?
When choosing the right tool for your project, consider your project planning and the specific tasks involved. Think about tool compatibility with materials and the scope of work. If you’re tackling a small repair, a basic screwdriver might suffice, but for larger tasks, you’ll need more specialized tools. Always match your tools to your project needs to guarantee efficiency and safety, making your DIY experience smoother.
What Maintenance Is Required to Keep Tools in Good Condition?
To keep your tools in good condition, you should regularly perform maintenance like tool sharpening to sustain their effectiveness. Store them properly using storage solutions such as toolboxes or wall mounts to prevent damage and rust. Keep blades clean and dry, and oil moving parts when needed. Regular inspections and cleaning will extend their lifespan and ensure they’re always ready for your next project.
Are There Eco-Friendly or Biodegradable DIY Tool Options?
You can find eco-friendly DIY tools made from biodegradable materials, which break down naturally and reduce environmental impact. Look for tools manufactured using eco-friendly processes, minimizing harmful emissions and waste. These options are often crafted from sustainable or recycled materials, so you can work confidently knowing you’re supporting eco-friendly manufacturing. By choosing biodegradable and sustainable tools, you help protect the environment while completing your projects efficiently and responsibly.
How Can I Prevent Injuries When Using Power Tools?
To prevent injuries when using power tools, always wear protective gear like goggles, ear protection, and gloves. Make certain you work in a safe workspace, keeping it clean and well-lit to avoid accidents. Read and follow the manufacturer’s instructions carefully. Keep your focus on the task, avoid distractions, and never operate tools when tired or under the influence. Taking these precautions helps keep you safe and reduces the risk of injury.
What Are Essential Safety Tips for Beginner DIYERS?
Imagine your safety gear as your personal shield in a busy battlefield; it keeps you protected from unexpected sparks and shards. As a beginner DIYer, always wear safety glasses, gloves, and ear protection. Know your emergency procedures—like where the fire extinguisher is and how to shut off power quickly. Stay alert, follow instructions carefully, and respect your tools. These tips turn potential chaos into a safe, enjoyable DIY adventure.
Conclusion
With these basic tools in your arsenal, you’re like a skilled artist ready to craft your masterpiece. Each tool is a brushstroke, helping you turn your ideas into reality. As you gain confidence, your projects will flow smoothly, transforming your space one task at a time. Remember, every DIY journey begins with a single step—equip yourself, stay safe, and let your creativity build something truly your own. The possibilities are endless, just like your imagination.