
To build a smooth workflow in Premiere or DaVinci, start by organizing your media into labeled bins or folders, which saves time and keeps your project tidy. Assemble a rough cut first by arranging clips and trimming unnecessary parts, focusing on story flow instead of perfection. Next, refine visuals with color correction and enhance audio quality for clarity. Finally, review your edits and make creative tweaks. If you keep exploring these steps, you’ll develop a seamless editing process that elevates your projects.
Key Takeaways
- Organize your media with clear labels and folders to streamline the editing process.
- Start with a rough cut by assembling clips in sequence, focusing on story flow.
- Apply basic color correction to establish mood and ensure visual consistency.
- Enhance audio quality by balancing levels, removing noise, and adding subtle effects.
- Regularly review your project, refine edits, and incorporate transitions for a polished final product.

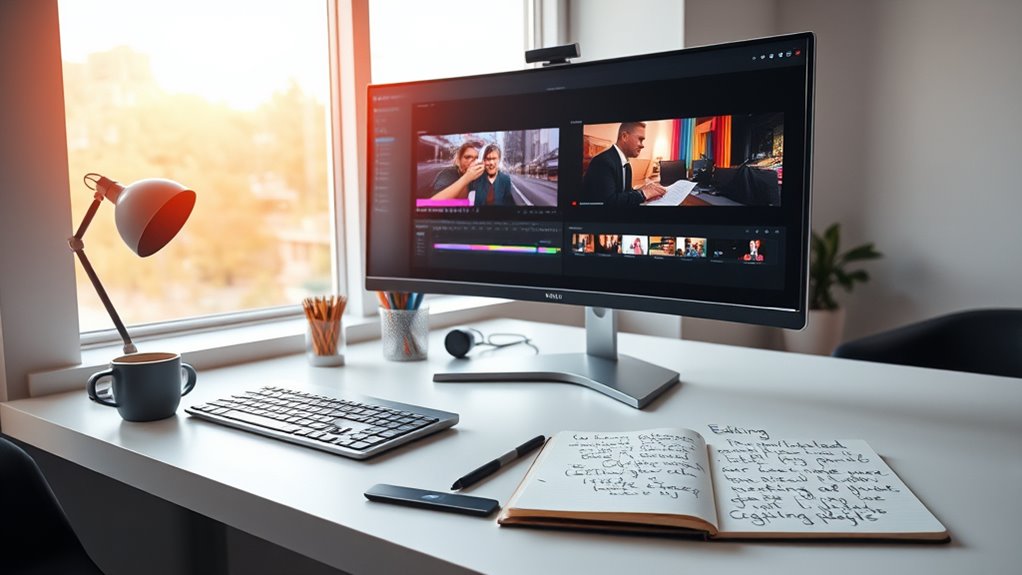
Have you ever wondered how to turn a rough draft into a polished piece? When you’re starting out, the editing process can seem overwhelming, but establishing a clear workflow makes it much more manageable. Whether you’re working in Premiere or DaVinci Resolve, the key is to break down your editing into focused steps. First, you want to organize your media so that everything is easily accessible. Label your clips, create bins or folders, and keep your project tidy. This initial step saves you time later and helps you stay focused on the creative aspects of editing.
Once your media is organized, begin with a rough cut. Focus on assembling your clips in the timeline, trimming unnecessary sections, and getting a sense of your story flow. Don’t worry about perfection at this stage—just aim to shape the narrative. After you’re satisfied with the sequence, it’s time to move into refining your visuals through color correction. This step is essential for establishing mood, consistency, and professional quality. You can adjust exposure, contrast, and color balance to make your footage look vibrant and cohesive. Even simple tweaks can dramatically improve the visual appeal and make your project look more polished.
Start with a rough cut, then refine through color correction for a polished, professional look.
Alongside color correction, audio mixing plays a key role in creating a professional feel. Clear, balanced audio ensures your audience stays engaged and doesn’t get distracted by background noise or uneven sound levels. Start by removing any unwanted sounds and then adjust audio levels to ensure dialogue, music, and effects blend smoothly. Use audio filters or equalization to enhance clarity, and consider adding subtle background music or sound effects to enrich the scene. Paying attention to audio quality makes a significant difference in how your final piece resonates with viewers.
As you progress, switch your focus from technical adjustments to creative tweaks. Fine-tune your edits, add transitions, and layer effects if needed. Keep reviewing your project from start to finish, refining as you go. Remember, editing is an iterative process—rarely is the first pass perfect. Take breaks to view your work with fresh eyes, and be open to making changes that enhance storytelling. Additionally, understanding the importance of contrast ratio can help you achieve a more dynamic and visually appealing final product.

Etekcity Smart Scale for Body Weight, FSA&HSA Eligible, Bathroom Digital Weighing Scale with BMI, Body Fat, Muscle Mass, Accurate Bluetooth Home User Health Equipment Sync Apps, LED, Tempered glass
𝑼𝒏𝒑𝒂𝒓𝒂𝒍𝒍𝒆𝒍𝒆𝒅 𝑨𝒑𝒑 𝑬𝒙𝒑𝒆𝒓𝒊𝒆𝒏𝒄𝒆: Elevate your fitness journey with us. Our scale stands out with the free vesync app,...
As an affiliate, we earn on qualifying purchases.
Frequently Asked Questions
What Are the Best Hardware Requirements for Beginner Editing?
For beginner editing, you should prioritize hardware optimization with at least 16GB of RAM and a multi-core CPU to handle editing smoothly. A dedicated GPU accelerates rendering, while fast storage solutions like SSDs reduce lag. Confirm your storage setup includes ample space for files and backups. These specs help streamline your workflow, making editing more efficient and enjoyable without overwhelming your budget.
How Do I Choose Between Premiere and Davinci for My Projects?
You should choose between Premiere and DaVinci based on software compatibility and user interface ease. If you prefer a user-friendly interface and seamless integration with Adobe products, go with Premiere. However, if you’re looking for powerful features with a free option, DaVinci offers great tools and less hardware demand. Consider your project needs and comfort with each interface to make the best choice for your editing journey.
What Are Common Mistakes to Avoid When Starting Out?
Like a knight before a quest, you should practice patience when starting out. Avoid shortcuts that might seem tempting but can lead to mistakes down the line. Focus on mastering basic editing skills first, rather than rushing to finish projects. Don’t get overwhelmed by every feature; instead, learn step-by-step. This approach keeps you motivated, minimizes errors, and builds a strong foundation for more advanced editing later on.
How Can I Improve My Editing Workflow Efficiency?
To improve your editing workflow efficiency, start by organizing your files and using keyboard shortcuts. Incorporate color grading early to set the tone and streamline your process. Don’t forget to focus on audio mixing throughout, ensuring sound quality matches visuals. Batch similar tasks and regularly save your work. These steps help you stay focused, reduce mistakes, and finish projects faster while maintaining quality.
Are There Free Resources or Tutorials for Learning Editing?
Think of free tutorials as your treasure map to mastering editing. You’ll find plenty of free tutorials and editing resources online, from platforms like YouTube, Vimeo, and dedicated forums. These resources cover everything from basic cuts to advanced effects. Immerse yourself in beginner-friendly videos, read articles, and participate in online communities. They’re your best allies in building confidence and honing your skills without spending a dime.

Nekteck Foot Massager with Heat & Foot Roller, Shiatsu Calf Leg Massager for Circulation and Neuropathy Pain Relief for Feet Care Home Office Gadgets Relaxing Massage Tools Gifts for Women Men Mom Dad
**HSA/FSA Eligible Product**
As an affiliate, we earn on qualifying purchases.
Conclusion
Now that you’ve started building your workflow in Premiere or DaVinci, remember that consistent practice boosts your editing skills. Did you know that 72% of beginner editors say sticking to a routine helped them improve faster? So, stay patient, keep experimenting, and refine your process. Every project you complete gets you closer to professional-level editing. Keep pushing forward—you’re more capable than you think!

prxxhri Smart Health Ring, Featuring Stress and Sleep Monitoring Functions, Compatible with iOS and Android,Waterproof Fitness Tracker for Women & Men, No Subscription Fee. (Black, 10)
【Check the Size Before Purchase】 Before buying the prxxhri Smart Ring, we strongly suggest that you refer to...
As an affiliate, we earn on qualifying purchases.

prxxhri Smart Health Ring, Featuring Stress and Sleep Monitoring Functions, Compatible with iOS and Android,Waterproof Fitness Tracker for Women & Men, No Subscription Fee. (Silver, 7)
【Check the Size Before Purchase】 Before buying the prxxhri Smart Ring, we strongly suggest that you refer to...
As an affiliate, we earn on qualifying purchases.